Key Takeaways
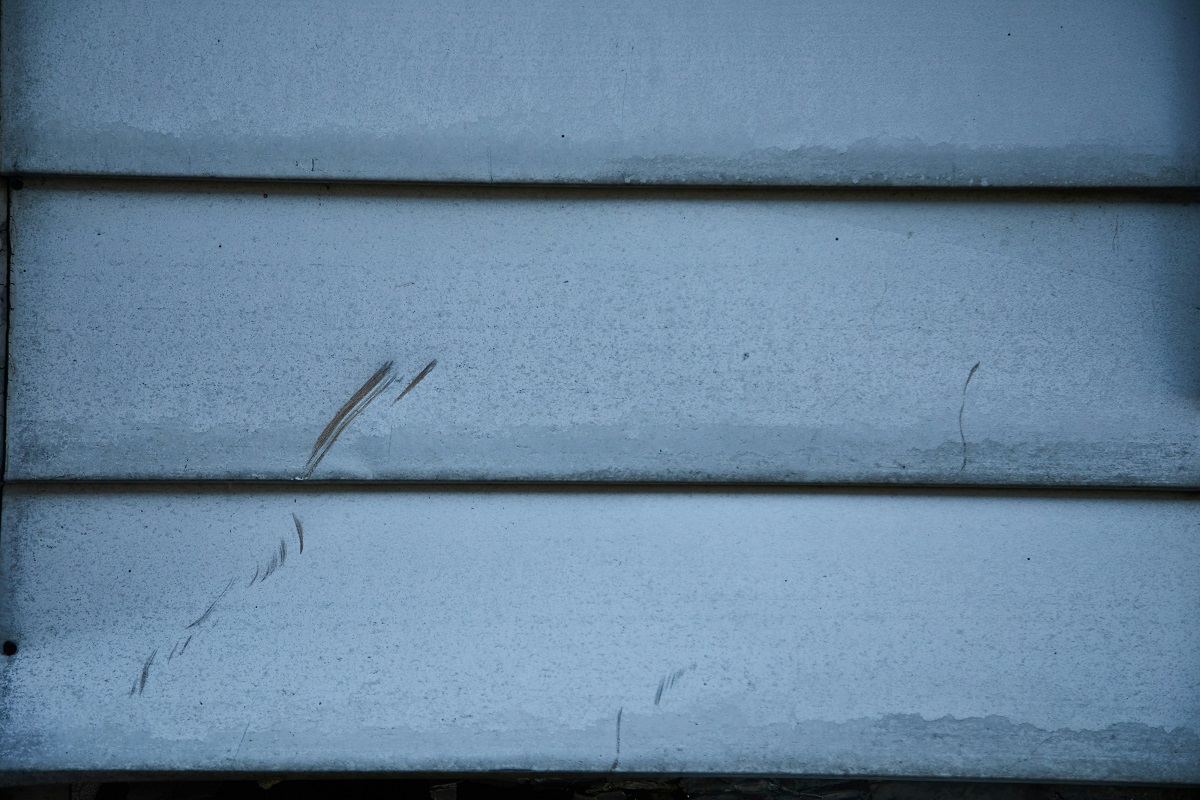
- Small splits and hairline fractures in exterior panels should be addressed early before moisture seeps behind the wall and causes rot, mold, or structural damage
- The right patching approach depends on the material: vinyl, wood, fiber cement, and aluminum each need different fillers, adhesives, and replacement techniques
- A basic toolkit of a zip tool, caulk gun, utility knife, putty knife, color-matched filler, and exterior-grade paint handles the majority of minor exterior panel damage
- Seasonal inspections, ideally twice a year, catch small issues before they grow into expensive full-panel replacements
- Proper surface prep, including cleaning, drying, and sanding, is often the difference between a patch that lasts a decade and one that fails within a season
- Knowing when to stop patching and call a pro saves money long-term, especially when damage covers large areas or hides behind trim and flashing
A thin split in a siding panel might look harmless. It isn’t. Even a hairline crack gives wind-driven rain a direct path into the wall cavity, where it can soak sheathing, saturate insulation, and feed mold colonies for months before you notice a stain on the drywall inside, which is why knowing how to fix cracked siding early matters.
That small opening also tends to grow. Freeze-thaw cycles pry the gap wider every winter, UV exposure makes the surrounding material brittle, and insects use the entry point as a doorway into the framing. What starts as a cosmetic flaw can quickly become a structural one, and the repair bill climbs with every season you ignore it.
The good news is that most cracks caught early are a weekend project, not a contractor call. With the right materials, a bit of patience, and a methodical approach, you can seal, patch, or replace damaged panels yourself and extend the life of your exterior by years.
How to Identify the Type of Damage You’re Dealing With
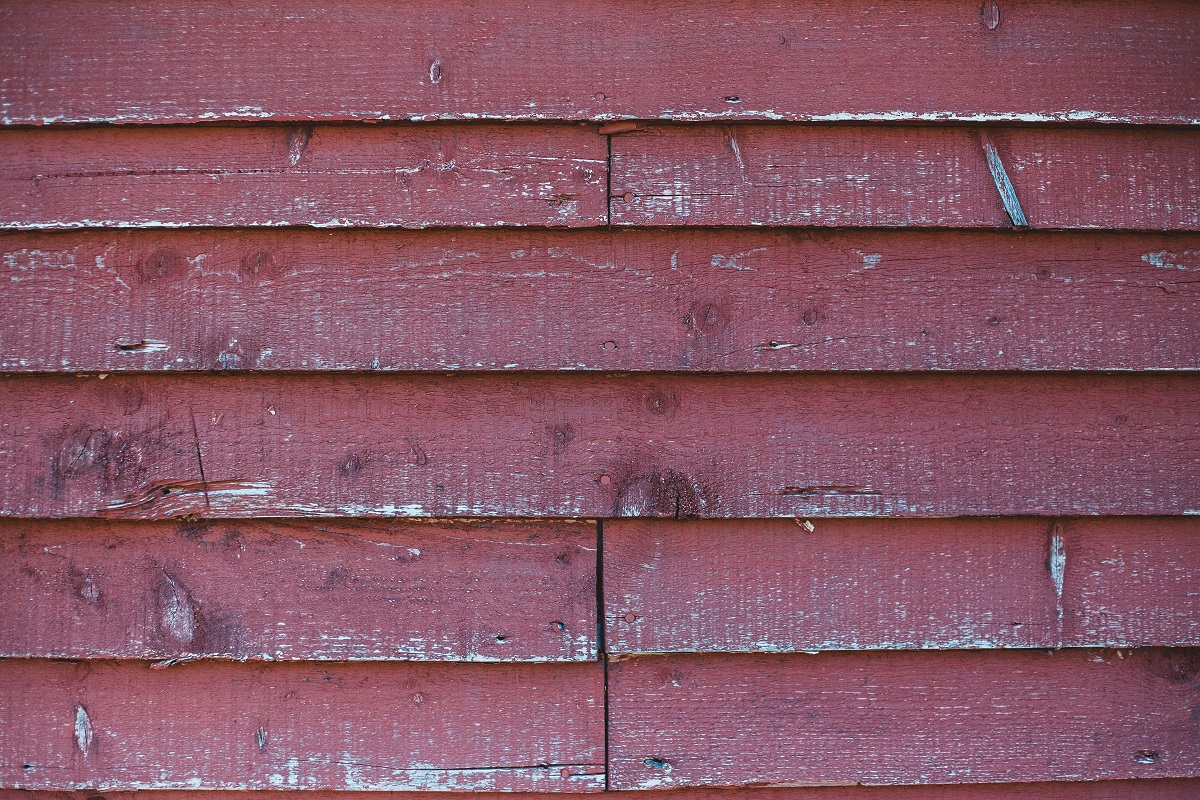
Before you buy a single tube of caulk, you need to know what kind of crack you have and what caused it. A stress fracture from a stray baseball needs a different fix than a long split caused by nails driven too tight during installation. Impact damage is usually localized and clean-edged. Stress cracks tend to radiate from a fastener or follow the grain of the board.
Walk the perimeter of your house on a bright, overcast day when shadows don’t hide flaws. Look along each run of siding at eye level, then crouch down and sight along the panels to catch warps or bulges. Pay special attention to corners, areas below windows, and spots where downspouts dump water.
Here’s what to flag during your walk-around:
- Hairline cracks running horizontally across a panel’s face
- Vertical splits near nails, screws, or seams between courses
- Chips or punctures with missing material
- Soft, spongy sections that indicate rot behind the panel
- Loose or buckled panels that have popped free from their locking edge
- Discoloration or dark streaks that hint at moisture intrusion
According to Central Texas Windows and Siding, poor installation is the leading cause of vinyl siding damage, which means a lot of what looks like weather damage actually traces back to nails driven too tight or panels that weren’t given room to expand and contract. Knowing that helps you diagnose cracks that keep reappearing in the same spot.
Gathering the Right Materials and Tools for the Job
Nothing derails a repair faster than realizing halfway through that you don’t have the right filler or a matching panel. Before you start, take a close-up photo of the damaged section and bring it to the home improvement store for color and profile matching. If your siding is more than a decade old, be prepared to blend with paint or settle for a near-match from the remainder bin.
Your shopping list depends on the material, but a core set of supplies covers most small repairs. For vinyl, you’ll want color-matched replacement panels, PVC trim adhesive, and a zip tool to release locking edges. For wood, stock up on exterior wood filler, epoxy consolidant for soft spots, and primer. Fiber cement calls for a cement-based patching compound and masonry-rated screws. Aluminum repairs usually involve auto-body filler and spray-applied color matching.
Essential Hand Tools Most Repairs Require
Tools make or break the finish quality. A $12 zip tool saves hours of fighting with locked panels. A quality caulk gun with a smooth-rod drive lays a cleaner bead than the cheap ratcheting kind. Here’s the short list worth owning:
- Siding zip tool for releasing vinyl locking edges
- Pry bar and nail puller for wood and fiber cement
- Utility knife with fresh snap-off blades
- Putty knives in multiple widths for feathering filler
- Caulk gun, preferably a dripless model
- Orbital sander and a range of sandpaper grits
- Tin snips for aluminum and thin vinyl cuts
- Tape measure, pencil, and a scrap of cardboard for templating
Don’t skip safety gear. Safety glasses, work gloves, and a dust mask are non-negotiable, especially when sanding fiber cement, which contains silica. If your repair is above the first floor, a stable extension ladder with standoff brackets protects both you and the siding you’re trying to fix.
How to Fix Cracked Siding on Vinyl Panels Step by Step
Vinyl is the most common siding in North America and, fortunately, one of the easiest to repair. The basic approach for small cracks is either filling with a color-matched caulk or cutting out and replacing the damaged section. For cracks shorter than about two inches, filling works. Anything longer, and you’re better off swapping the panel.
Start by washing the area with a mild detergent and letting it dry completely. Moisture trapped behind a patch is a guaranteed failure. For a fill repair, apply exterior-grade PVC caulk in the matching color, tool it smooth with a wet finger or plastic spoon, and wipe the excess with a damp rag before it skins over.
For panel replacement, use your zip tool to unlock the panel above the damaged one, slide the tool along the seam, and pull gently downward to release the lock. Remove the nails holding the damaged panel, slide it out, and cut a replacement to length with tin snips or a fine-toothed blade in a circular saw running backward. Nail the new panel loosely, leaving about a dime’s thickness of play so it can expand in summer heat, then re-lock the course above it.
Repairing Wood Siding Without Replacing the Whole Board
Wood siding rewards patience. A properly repaired cedar or pine board can look invisible after painting, but rushing the process leaves you with filler that cracks again within a year. The key is removing all the compromised wood, stabilizing what remains, and building the patch up in layers rather than one thick glob.
Start by probing the crack with an awl or screwdriver. If the surrounding wood is soft, you’re dealing with rot and need to remove it until you hit solid material. Vacuum out the debris and apply an epoxy wood consolidant, which soaks into the remaining fibers and hardens them back into a solid base. Let it cure overnight.
Once the consolidant is set, fill the void with a two-part exterior wood epoxy. Apply it slightly proud of the surface, let it cure fully, then sand it flush with 80-grit paper and finish with 150-grit. Prime the patch, then paint the entire board edge to edge so the repair blends into the natural weathering pattern. For broader guidance on protecting your home envelope year-round, this guide on exterior upkeep and weather protection walks through the bigger maintenance picture that a single board repair fits into.
If the board is split along its full length or shows rot deeper than half its thickness, replacement is smarter than repair. Pry off the damaged piece carefully to avoid splitting the one above it, slide a new board into place, and nail it through the same pattern the original used. Caulk the end joints, prime bare edges, and paint to match.
Patching Fiber Cement and Aluminum Panels
Fiber cement is tough but brittle, and cracks almost always come from impact or from fasteners driven too hard during installation. Small chips and hairline cracks accept a cement-based patching compound that bonds chemically with the surrounding board. Clean the area with a stiff brush, dampen it lightly, press the compound into the crack with a putty knife, and feather the edges so the patch sits flush.
Larger cracks or broken corners usually mean the board needs to come out. Fiber cement is heavy and dusty, so wear a respirator and have a helper support the panel while you remove fasteners. Cut replacement pieces with a fiber cement shear or a diamond blade on a circular saw, and always work outdoors to keep silica dust away from living spaces.
Aluminum is a different animal. It dents rather than cracks, but when it does split, the metal around the crack is often bent or stressed. For small splits, clean the surface with denatured alcohol, apply a thin layer of auto-body filler, and sand it smooth once cured. Spray-apply a color-matched exterior metal paint in light coats to avoid runs. For badly bent sections, replacement is the only reliable fix because filler won’t hold on a flexing panel.
When to Match Color and When to Repaint the Whole Wall
One of the harder calls in siding repairs is deciding whether to spot-touch the repair or repaint the entire wall. Spot-matching works if the surrounding siding is less than five years old and hasn’t faded noticeably. Beyond that, UV exposure shifts the color enough that even a factory-matched paint will look like a bright patch against a muted field.
A simple test: hold a sample of the original color next to a shaded, protected section of your siding, like under an eave. If they match there but not in direct sun, the wall has faded and a full repaint on that elevation will look dramatically better than a spot touch-up.
Sealing, Caulking, and Finishing Your Repair Correctly
The final stage is where most DIY repairs fail. Caulk applied to a dusty surface won’t bond. Paint rolled over uncured filler bubbles within weeks. Taking an extra hour at the finish line often doubles the lifespan of the whole repair.
Use a high-quality elastomeric or polyurethane caulk rated for exterior use, not cheap acrylic. Cut the tip at a 45-degree angle, size the opening to match the gap, and lay a continuous bead without stopping and starting. Tool it immediately with a wet finger or a caulk-smoothing tool so it keys into both sides of the joint.
For painted finishes, prime first with a stain-blocking exterior primer, even if the filler claims to be paint-ready. Two thin topcoats always outperform one thick coat, and rolling in the direction of the original brush or spray pattern helps the repair disappear. Give each coat the full recommended dry time, especially in humid weather.
Preventing Future Cracks Through Routine Maintenance
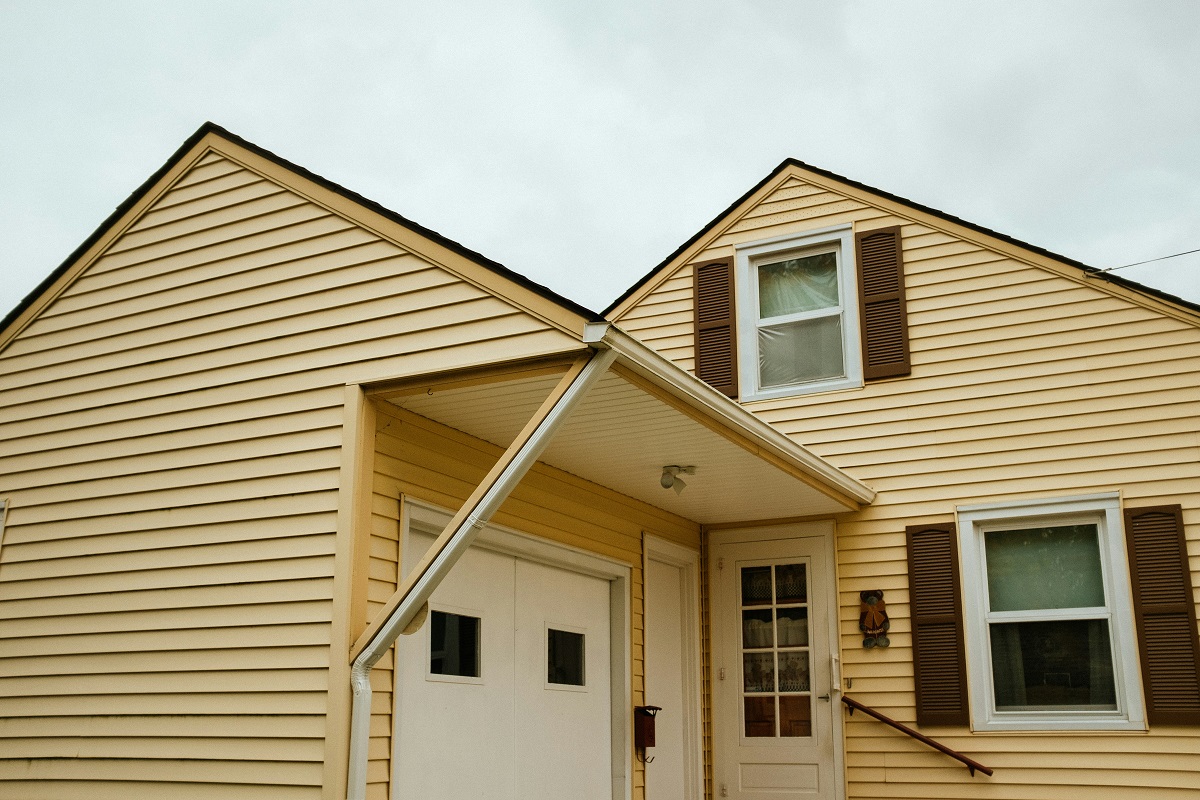
The cheapest repair is the one you never have to make. A twice-yearly inspection in spring and fall catches small problems before winter freezes drive them deeper. Walk the house, note anything new, and address issues while they’re still small.
Keep these habits on your calendar:
- Trim shrubs and tree branches at least a foot away from the siding to reduce abrasion and moisture retention
- Clean gutters and downspouts so water drains away from walls instead of splashing onto lower panels
- Reseal joints around windows, doors, and penetrations every three to five years
- Wash siding annually with a soft brush and mild detergent, not a pressure washer on high setting
- Check caulk lines at corner trim and where siding meets other materials like brick or stone
- Watch for wasp and hornet nests tucked behind loose panels, which indicate a gap worth sealing
If you’ve just bought a home, the window before move-in is the best time to knock out these fixes, and a thorough checklist of exterior repairs before moving in can help you prioritize what to tackle first.
Knowing When to Call a Professional
DIY repair has limits. If cracks cover more than a quarter of a wall, if you see widespread soft spots indicating hidden rot, or if damage extends behind trim and flashing you can’t easily remove, it’s time to bring in a contractor. The same goes for any repair above the second story, where ladder safety becomes a real risk.
Pros also bring diagnostic value. A good siding contractor can spot flashing failures, improper nailing patterns, and missing house wrap that a DIY repair would simply cover up. Paying for an inspection, even if you plan to do the work yourself, can save thousands by revealing the true source of recurring cracks.
Insurance may cover storm or impact damage, so document everything with photos before you start any repair. A contractor can also help you file claims and provide the kind of written estimate insurers require.
Final Thoughts
Cracks in siding aren’t just cosmetic flaws. They’re small invitations for water, insects, and decay to reach the parts of your house you can’t see. Tackling them promptly, with the right materials and a careful approach, keeps your walls dry and your repair budget predictable.
Whether you’re sealing a hairline split in a vinyl panel, rebuilding a rotted section of cedar, or patching a chipped fiber cement board, the fundamentals are the same: diagnose the cause, prep the surface thoroughly, match your materials to the substrate, and finish with care. Rushing any one of those steps is what separates a repair that lasts a decade from one that fails by next spring.
Put a reminder on your calendar for a seasonal walk-around, keep a small kit of fillers and caulks on hand, and address small cracks the weekend you spot them. A house that gets this kind of steady attention rewards you with a tighter envelope, lower energy bills, and an exterior that still looks sharp when it’s time to sell.