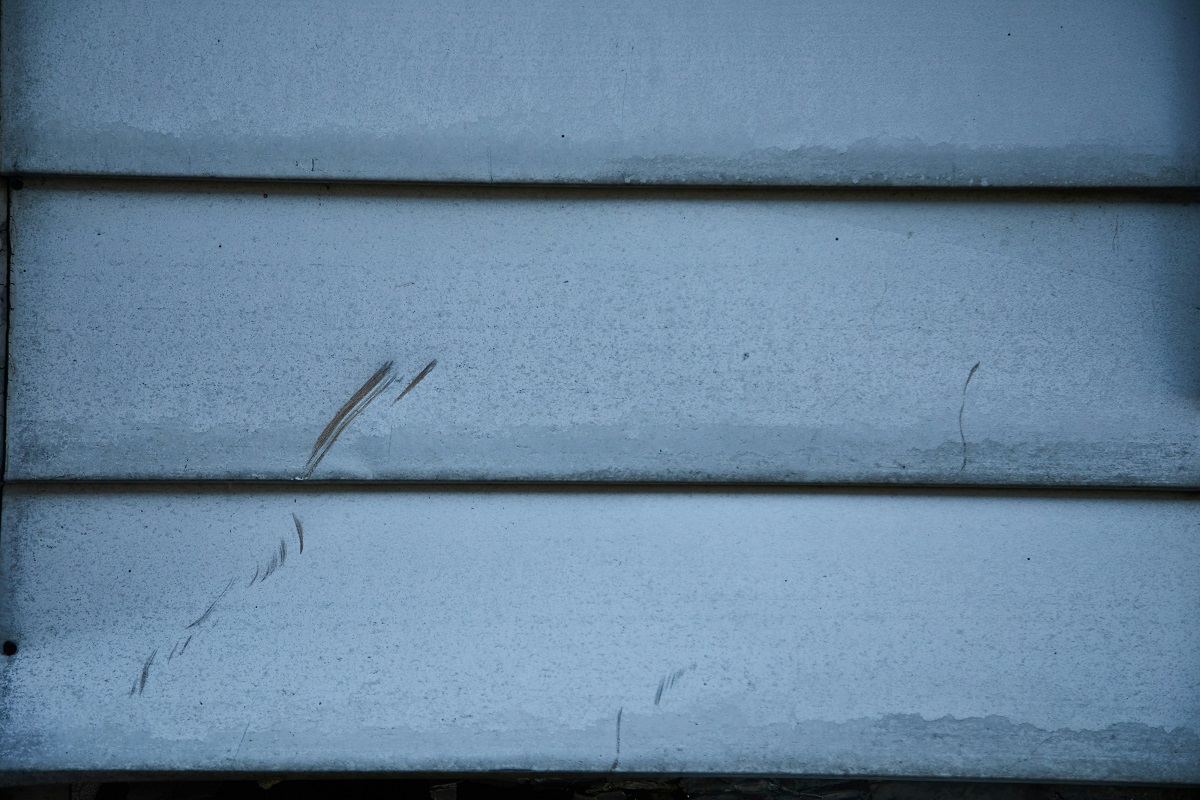
Your home’s exterior takes a beating year after year. Rain, wind, sun, hail, shifting temperatures, and the occasional errant baseball all leave their mark on the material wrapping your walls. Cracks start small, often hidden behind a downspout or near the ground where you rarely look, and then they spread. Once moisture gets behind a panel, the real trouble begins.
Most homeowners only pay attention to their siding after something has already gone wrong. By then, the fix is almost always bigger, messier, and more expensive than it needed to be. A proactive approach changes everything. If you understand what causes cracks in the first place, you can plan around them instead of chasing them.
This piece walks through the main prevention strategies side by side, weighing the trade-offs of each so you can decide where to spend your time and money. Not every method suits every house, climate, or budget, and some popular tips are less effective than the internet makes them out to be.
Why Siding Cracks in the First Place
Cracks rarely come from a single cause. They build up from a combination of pressure, movement, and material fatigue. Vinyl expands and contracts dramatically with temperature swings. Wood swells when wet and shrinks as it dries. Fiber cement handles both better but can still chip when struck. Knowing the mechanism behind the damage tells you which prevention strategy is actually worth your effort.
Installation quality may matter more than any other single factor. According to Born Carpentry, fasteners driven too tight account for most early panel failures within the first decade, because they prevent the panel from moving the way it was engineered to move. That tiny mistake during install creates a stress point that grows into a crack years later.
Weather is the second big culprit, and it works slowly. UV radiation breaks down the surface, hail punches weak spots, and freeze-thaw cycles pry at every seam. The combination is what wears siding out, not any one event.
Comparing Material Choices for Long-Term Durability
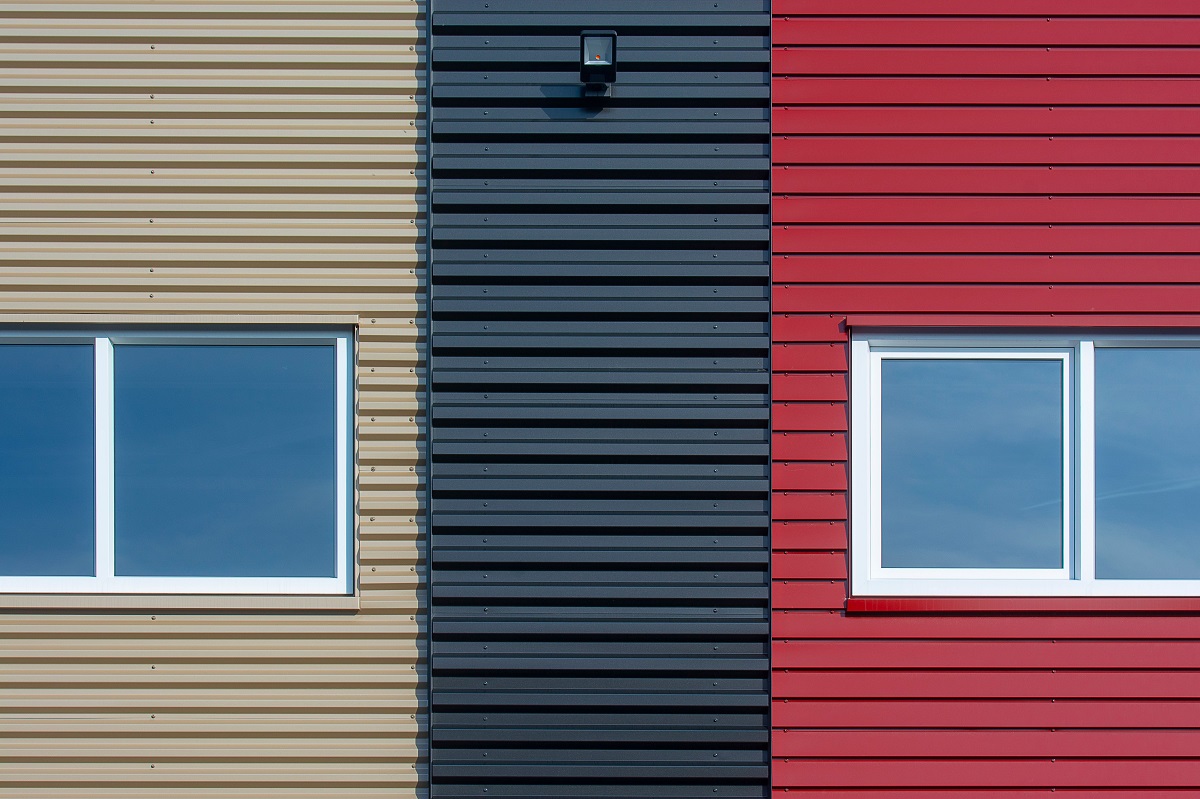
Not all siding ages the same way. Choosing the right material at installation or replacement time is the single biggest decision you’ll make for crack prevention. Here’s how the common options stack up when the goal is longevity.
- Vinyl: Affordable and low-maintenance, but prone to cracking in extreme cold and fading under harsh sun
- Fiber cement: Excellent resistance to impact and fire, heavier to install, and more expensive upfront
- Engineered wood: Looks like real wood, holds paint well, but needs sealed edges to prevent moisture damage
- Aluminum: Dent-prone but won’t crack from temperature changes
- Natural wood: Beautiful but demands regular sealing and repainting to stay crack-free
- Steel: Extremely durable, resistant to most weather, but costly and can rust at cut edges
According to HomeFixx, standard vinyl is rated to last roughly 20 to 30 years, though that estimate assumes moderate sun exposure. Homes in blazing southern climates often see shorter lifespans, while shaded northern homes can push beyond the upper bound. Match the material to your climate and you buy yourself years of crack-free service.
When Upgrading Makes More Sense Than Patching
There’s a tipping point where repeated repairs cost more than a full replacement. If you’re patching the same wall twice in five years, the underlying material is probably past its useful life. Upgrading to a sturdier product may feel like a splurge, but it eliminates the recurring expense and the recurring headache.
Maintenance Habits That Actually Prevent Cracks
Prevention is less glamorous than renovation but far cheaper. A few consistent habits make a measurable difference in how long your siding lasts between major interventions, and most of them take less than an afternoon to complete. The trick is building them into a routine rather than waiting until something looks wrong, because by the time damage is visible from the curb, water and weather have usually been working behind the scenes for months. Homeowners who treat siding care like they treat changing furnace filters or cleaning gutters rarely end up budgeting for major exterior repairs, while those who ignore it tend to face bigger, costlier surprises.
Washing your siding once or twice a year removes mildew, pollen, and grit that quietly degrade the finish. These contaminants trap moisture against the surface and, over time, break down protective coatings and accelerate fading. A soft brush and garden hose do the job for vinyl and fiber cement, ideally paired with a mild detergent or a dedicated siding cleaner for stubborn algae streaks on the shaded north side of the house. Pressure washers can work, but the wrong setting forces water behind panels and causes the exact damage you’re trying to prevent, including warped substrates, soaked insulation, and hidden mold. If you do use one, keep the nozzle at least two feet from the wall, choose a wide fan tip, and spray downward at a slight angle rather than straight on or upward. Gentle is better than aggressive here, and patience nearly always beats power.
- Inspect siding every spring and fall for hairline cracks or loose panels
- Trim back shrubs and tree branches that rub against the wall
- Clean gutters so overflow doesn’t cascade down the siding
- Check caulking around windows and doors annually
- Keep sprinklers aimed away from the house
- Touch up paint or sealant as soon as you notice bare spots
- Watch for wasp nests, woodpecker holes, or rodent gnaw marks near seams
- Clear snow and ice buildup from the base of walls in winter
Each of these habits tackles a specific failure mode. Shrubs that brush against siding wear away finish and trap humidity in the exact spot that dries slowest. Overflowing gutters send a steady curtain of water down the top course of panels, washing out caulk and seeping behind trim. Failing caulk around penetrations is one of the most common entry points for the moisture that later freezes, expands, and splits panels from the inside out. Catching any of these early is the difference between a ten-minute touch-up and a weekend of exterior repairs.
Quality vinyl should fade very little over its first decade. According to GrandExteriors Inc., a reliable product will show less than 5% fading in 10 years, which is a good benchmark when you’re comparing warranties or evaluating whether yours is holding up. If your siding looks noticeably chalky, blotchy, or uneven in color well before that ten-year mark, it’s worth investigating whether the product was lower grade, whether installation left it unusually exposed, or whether a nearby reflective surface — a metal roof, a pool, or a large window — is amplifying UV exposure on one wall. Pairing these observations with the step-by-step guidance in How to Fix Cracked Siding: Materials, Tools, and Step-by-Step Techniques will help you decide whether a spot repair, a full panel swap, or a broader refresh is the right next move.
DIY Versus Professional Approaches to Outdoor Repairs
The internet is full of weekend warriors who swear by caulk-and-paint fixes, and sometimes they’re right. Minor surface cracks on a single panel are genuinely within reach of a homeowner with basic tools and an afternoon to spare. The trouble starts when the damage runs deeper than it looks.
A professional contractor sees what you don’t. They catch the hidden moisture, the warped sheathing, the missed flashing detail that will fail again next winter. For a single hairline crack, hiring someone is overkill. For anything structural, cutting corners is how a small problem becomes a rotted wall. If you’re weighing the decision, resources covering materials, tools, and step-by-step techniques can help you figure out whether a repair is realistically within your skill set before you commit.
Cost is the other factor that tips the scale. According to Angi’s 2026 data, siding repair averages about $933, with small jobs starting around $75 and extensive work climbing as high as $16,330. Knowing roughly where your project falls on that spectrum helps you decide whether a DIY attempt makes sense or whether you should just call a pro from the start. Many homeowners get the most mileage out of handling Exterior Repairs they can see clearly and leaving anything structural to someone with the right equipment.
How to Spot Hidden Damage Before It Spreads
Push gently on suspect panels. If they feel soft, spongy, or oddly flexible, moisture has likely gotten behind the siding. Peek behind downspouts, under window sills, and anywhere two materials meet. Small discolorations often signal bigger problems waiting underneath.
Smart Upgrades During Exterior Repair Projects
When you’re already tearing into a wall, you have a rare chance to improve what’s underneath. Skipping these upgrades means paying the labor cost again later for work you could have done once.
House wrap is the first thing to consider. If yours is torn, brittle, or missing, replacing it adds hours but transforms how the wall handles moisture for decades. Insulated siding panels are another worthwhile upgrade in cold climates, cutting energy bills and adding a cushion that resists impact damage better than standard panels.
- Install upgraded house wrap forimproved moisture protection
- Add rigid foam backing to boost impact resistance and R-value
- Replace rusted or missing flashing at every roof-to-wall transition
- Upgrade caulking to a higher-grade polyurethane or hybrid sealant
- Swap out old nails for corrosion-resistant fasteners rated for your siding type
- Install kickout flashing where roof edges meet sidewalls to divert water away from the cladding
The guide on how to fix cracked siding: materials, tools, and step-by-step techniques is worth bookmarking before you start any of these upgrades, since the sequence of work matters. Pulling panels in the wrong order, or reinstalling them without accounting for expansion gaps, undoes the benefit of every other improvement you make.
Timing Upgrades With Other Exterior Work
If you’re already planning a roof replacement, window swap, or gutter overhaul, coordinate the siding work to happen in the same window. Flashing details overlap at these junctions, and scheduling the crews back-to-back prevents the awkward situation where one trade undoes another’s work. You also save on setup fees, dumpster rentals, and the general disruption of having contractors on site.
Climate-Specific Strategies Worth Considering
A prevention plan that works in Phoenix will not hold up in Minneapolis. The forces working against your siding depend heavily on where you live, and the smartest homeowners tailor their approach to the weather they actually face rather than following generic advice.
In hot, sunny regions, UV breakdown is the dominant threat. Lighter colors reflect more heat and slow the degradation of the surface. Shading from strategic landscaping or awnings reduces direct exposure on the walls that take the worst beating. Choosing a product with a strong UV-stabilized formulation pays off within the first decade.
In cold climates, freeze-thaw cycles do most of the damage. Water finds a hairline crack in autumn, freezes inside it during winter, expands, and widens the gap by spring. The countermeasure is simple but relentless: seal every opening before the first freeze, and inspect again after the thaw. Ice dams on the roof also drive water sideways behind siding, so attic insulation and ventilation matter more than most people realize.
Coastal homes deal with salt spray, which accelerates corrosion on any metal fastener or flashing. Rinsing the siding quarterly with fresh water helps, and upgrading to stainless or specially coated fasteners during any repair is a small cost that prevents large problems. Hurricane-prone areas benefit from impact-rated products that cost more upfront but survive storms that would shred ordinary panels.
Budgeting for Prevention Over Time
Prevention spending is lumpy. Some years you’ll pay nothing beyond a few tubes of caulk and an afternoon of your own time. Other years a storm will force a larger outlay whether you planned for it or not. Setting aside a small reserve each year smooths that curve and keeps you from deferring maintenance when cash is tight.
- Budget roughly 1% of your home’s value annually for general exterior upkeep
- Keep a separate reserve for weather-related surprises
- Request itemized quotes so you can prioritize the most critical repairs first
- Ask contractors which fixes can wait a season and which cannot
- Track what you spend each year to spot patterns that point to bigger underlying issues
The homeowners who spend the least over a 20-year span are rarely the ones who avoided spending in year one. They’re the ones who caught small problems early, upgraded sensibly during routine work, and never let a minor crack grow into a wall repair.
Closing Thoughts
Siding damage prevention is not a single project but a pattern of small, consistent decisions. The material you pick, the way it’s installed, the habits you build around inspection and cleaning, and the upgrades you fold into larger projects all compound over time. Homeowners who treat their exterior as a system rather than a surface end up with walls that outlast their neighbors’ by a decade or more, with far fewer surprises along the way.
The most expensive siding problem is always the one you didn’t see coming. Soft panels, hidden moisture, and rotted sheathing rarely announce themselves until the damage is well underway. A seasonal walk around your house, a soft brush and a hose, and a willingness to address small cracks the moment you spot them will save you thousands over the life of your home.
Weigh the options, match your strategy to your climate, and be honest about which jobs belong in your own hands and which belong in a contractor’s. Prevention does not have to be complicated to be effective, but it does have to be deliberate. Start with one habit this season, add another next year, and let the results speak for themselves.