- Proper planning and measuring are essential to ensure enough materials and a well-aligned patio.
- Ground preparation with gravel and sand is critical for stability, drainage, and long-lasting results.
- Start laying pavers from a straight edge and maintain consistent gaps for a professional finish.
- Joint sand and edging lock pavers in place and prevent shifting over time.
- Regular maintenance, such as sweeping, refilling sand, and removing weeds, prolongs the patio’s lifespan.
- Pavers offer versatility and design options, allowing homeowners to create custom patterns and shapes.
- Learning to lay patio pavers yourself can save money and enhance your outdoor living space.
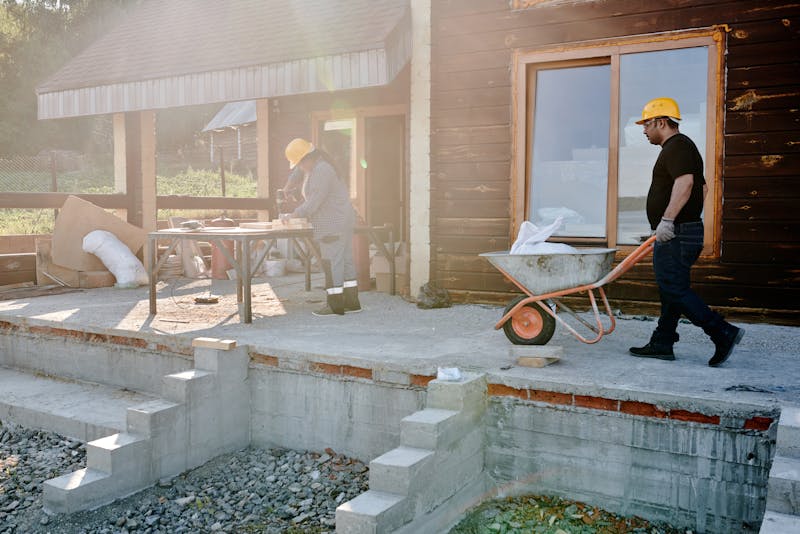
Creating a beautiful outdoor living space can transform your backyard into a relaxing retreat. One of the easiest ways to achieve this is by installing patio pavers. Not only do pavers add aesthetic appeal, but they also provide a durable and low-maintenance surface for entertaining, dining, or simply enjoying the outdoors. If you’re a homeowner looking to improve your outdoor space, learning how to lay patio pavers can save you money and give you a sense of accomplishment.
This step-by-step guide breaks down the process into manageable steps for beginners, ensuring a smooth and professional-looking result.
What Is a Patio and Why Choose Pavers?
Before diving into installation, it’s important to understand what a patio is. A patio is an outdoor area adjacent to your home, typically paved with concrete, stone, or bricks, designed for seating, dining, or relaxation. Patios extend your living space and provide a stylish foundation for outdoor furniture, fire pits, or landscaping features.
Pavers are a popular choice because they are versatile, durable, and available in various shapes, sizes, and materials. They can easily accommodate curves, patterns, and custom designs, making them perfect for homeowners seeking both functionality and aesthetic appeal. Unlike poured concrete, pavers also allow for better drainage and easier repairs.
Step 1: Plan and Measure Your Patio Area
The first step in laying patio pavers is careful planning. Proper planning ensures that you purchase the correct amount of materials and avoid costly mistakes.
- Measure your area accurately: Use a tape measure to determine the length and width of the patio.
- Decide on the shape and layout: Rectangular, square, or circular designs are common, but pavers allow for creative patterns like herringbone or basketweave.
- Calculate materials: Include pavers, sand, gravel, and edging materials. It’s wise to add 5-10% extra for cuts and waste.
- Mark the boundaries: Use stakes and string to outline the patio area.
A well-planned patio not only looks professional but also ensures your pavers last for years without shifting or settling unevenly.
Step 2: Prepare the Ground for Installation
Proper ground preparation is key to a long-lasting patio. Skipping this step can lead to uneven surfaces, sinking pavers, or weeds growing through the gaps.
- Excavate the area: Remove grass, roots, and topsoil to a depth of 6–8 inches for pedestrian patios.
- Add a gravel base: Lay 4–6 inches of crushed gravel and compact it using a plate compactor. This layer ensures stability and proper drainage.
- Add a sand layer: Spread a 1-inch layer of coarse sand over the gravel and level it using a screed board.
Properly preparing your patio foundation creates a stable base that supports the pavers and prevents future maintenance problems.
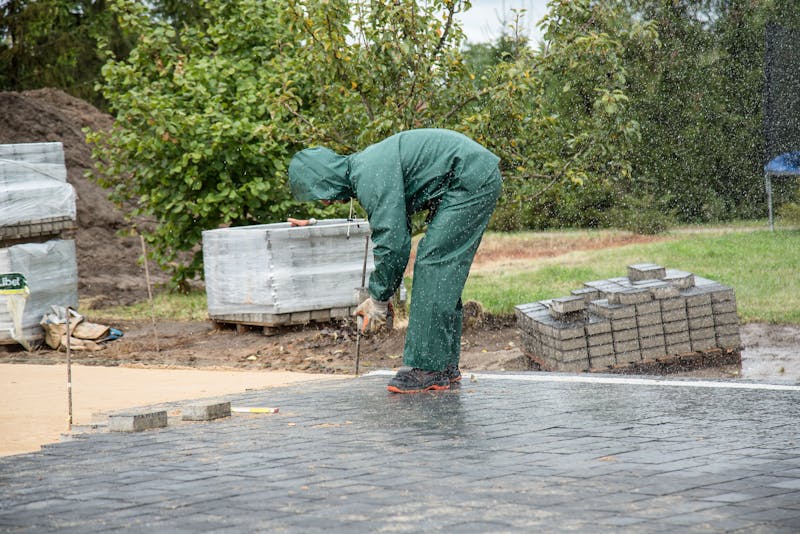
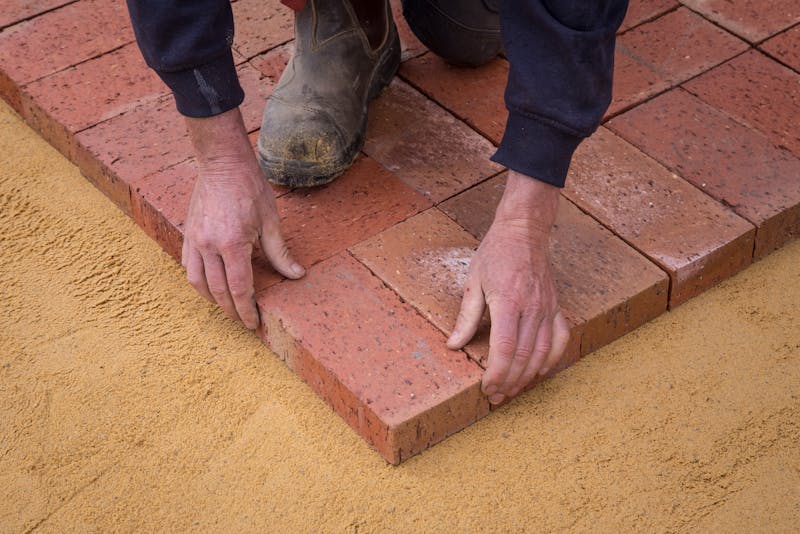
Step 3: Lay the Patio Pavers
This is where your patio starts to take shape. Laying pavers requires patience and attention to detail to achieve a polished look.
- Start from a corner: Begin at a straight edge, such as your home or a wall, to keep the rows aligned.
- Lay pavers carefully: Place each paver on the sand, tapping gently with a rubber mallet to secure it.
- Maintain consistent gaps: Use spacers or small gaps to allow for sand filling and movement.
- Cut pavers as needed: Use a masonry saw or chisel for edges and curves.
Take your time during this stage. Proper alignment ensures your patio looks neat and professional.
Step 4: Secure the Pavers and Finish
Once all pavers are in place, the final step involves locking them in position and creating a smooth, finished surface.
- Spread joint sand: Sweep fine sand over the pavers, filling gaps completely. This locks the pavers in place and prevents shifting.
- Compact the pavers: Use a plate compactor to press the sand into the joints and stabilize the surface.
- Add edging: Install plastic or metal edging to prevent pavers from spreading outward.
- Clean and seal: Sweep off excess sand and, if desired, apply a sealer for extra protection and color enhancement.
By following these finishing steps, your patio will remain durable, attractive, and low-maintenance for years to come.
Tips for Maintaining Your Patio
Even a well-laid patio requires occasional maintenance to keep it looking its best.
- Sweep regularly to prevent dirt and debris buildup.
- Refill joint sand as needed to maintain stability.
- Remove weeds promptly.
- Wash pavers with mild detergent and water to prevent stains.
Routine maintenance prolongs the life of your patio and preserves its aesthetic appeal.
Conclusion
Learning how to lay patio pavers is a rewarding DIY project for homeowners who want to enhance their outdoor living spaces. By carefully planning, preparing the ground, and following the step-by-step process, you can create a durable and visually appealing patio that suits your style. Whether you’re hosting family gatherings or enjoying quiet evenings outdoors, a well-laid patio adds both value and enjoyment to your home.